A sample text widgetEtiam pulvinar consectetur dolor sed malesuada. Ut convallis euismod dolor nec pretium. Nunc ut tristique massa. Nam sodales mi vitae dolor ullamcorper et vulputate enim accumsan. Morbi orci magna, tincidunt vitae molestie nec, molestie at mi. Nulla nulla lorem, suscipit in posuere in, interdum non magna. | 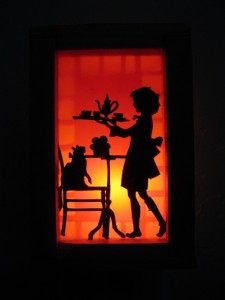 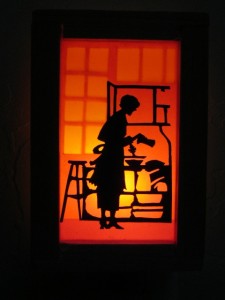 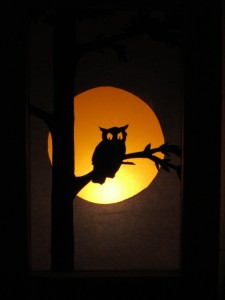 
So I guess I lied when I said I’d only be featuring other Crafty Mamas. I couldn’t pass up the opportunity to share my extremely talented friend Andy’s new Going to Seed Etsy Shop. Andy has been a big part of our lives over the years. We spent many an evening crafting way back in the day when the Sharing Shack was established. It was an evening we’d have once a week or so to share our talents with one another and teach our friends how to do some of the things that we skilled at. It was the perfect way to see our friends, eat delicious food, share libations and do something productive together. Then we all had kids and it was impossible to find an indoor space big enough to accommodate the masses. Andy has always had a creative eye. He was a writer for our local indy paper when I met him. He almost always had his Super 8 camera with him when we’d have gatherings. He’s dabbled in numerous film projects and has several done amazing things. I love this video he made for my husband’s band Volumen several years ago. As for the silhouettes pictured above I quote Andy, “I started cutting silhouettes in 2004 by making stop-motion music videos for rock band the Decemberists, and have since branched out into prints, silkscreen design and, most recently, nightlights. Every nightlight is handmade and unique: no two quite the same, and all are ready to plug right in. Prints are done on archival paper, matted and ready to frame, signed or unsigned as you like. ” We have art in our home that Andy has created, we have art at our store that Andy has created, and every piece that I’ve seen I love. Andy has a special place in our hearts & I really wanted to share, so check out his Etsy shop if you have a minute. I should probably give some props to his wife Joanna who is one crafty Mama, without her he wouldn’t have is britches on straight. Ooh and if you happen to be passing by Blackbird Kid Shop there are nightlights in the window and they are gorgeous! Nighty nighty! Happy Crafting! 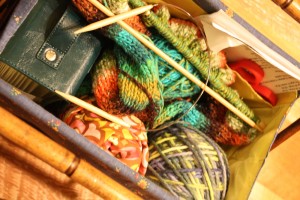
This is what I packed when I headed to Erin‘s house. We tried for a while to have a weekly crafting night, it always seems to come and go, I love it when it happens and it seems like everyone else present is happy to have the wine, chatty women and company while crafting, so I’m not sure why it is so hard to keep things crackin’. I took some photos during one of our crafty nights. 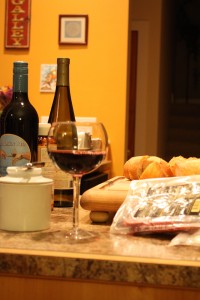 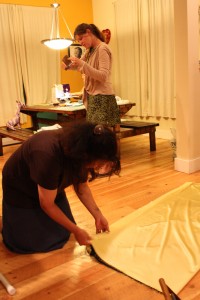 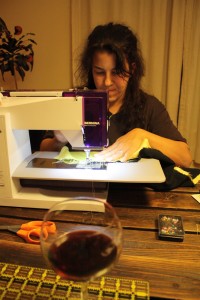 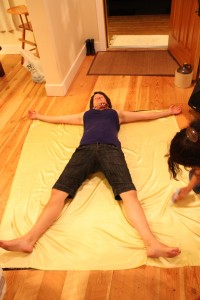
Everyone did their own thing and of course sometimes you needed a model the same size as a child – luckily Erin hosted! 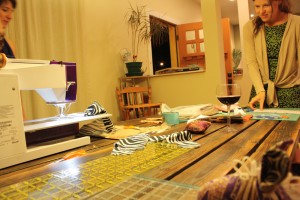 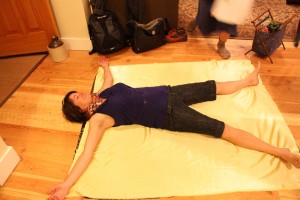
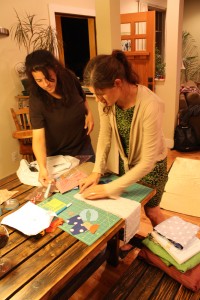 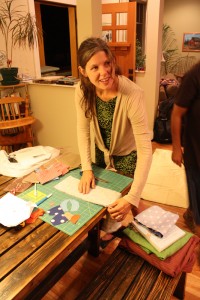
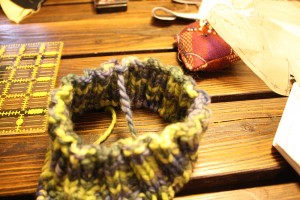
I was working on this hat, which actually was completed forever ago and you can find somewhere on Mama Loves Knitting…but I think mainly it was/is about the company and just having an excuse to MAKE yourself be creative. Thought I would share some of the photos of just a few of my crafty friends as I sit here pining away for another craft night. Any suggestions from anyone out there on how to keep the ball rolling? I guess we could collaborate on a project which required us to get together once a week or every other week. Hmm. Denver Craft Ninjas how do you keep it real? Let’s start a club! 
Just wanted to spread the word about the sale at my favorite local fabric store, right on the Hip Strip! Selvedge Studios is having a 20% sale on everything January 20, 21, and 22! Don’t miss the opportunity to get some amazing fabrics, notions, etc. Shop here and enter “paper doll” at checkout for your savings. If you live here and want their address here is their Facebook page. Go get yourself some new crafting supplies and start makin’ stuff! I haven’t been here in far too long. I’ve been knitting up a storm and the holidays gifted and robbed me of free time – just as they do for most of us. I have a renewed calm about myself this morning though. I’m actually at work, but I own a toy store so not a soul has entered the door in the last 25 minutes (that I’ve been open) and I’m loving it. I know what my day has in store for me and the list is pretty long. I need to catch up on things that have fallen to the wayside, I need to close out the year on our businesses (we are both self-employed) and I need to clear this giant pile from my desk. I find that a clean space makes me much more focused. Things cluttering my mind prevent me from crafting. Lately, I walk into our art room and find myself wanting to turn right around and walk back out. I need to just diffuse some oils in there and spend an entire day cleaning out nooks and crannies. Right now the counter top is camouflaged with fabric scraps and the floor is littered with tiny Legos. I was feeling motivated a few weeks ago and started frantically ironing the pillar of quilt pieces for the scrap quilt I’d love to get started on, but I literally only had about 45 minutes to work. I need a full day or two or three! I got this awesome book for Christmas from my in-laws and I’m chomping at the bit to complete at least one project in there before February approaches. This book will be an inspiration for me to clear some of my cute cute fabric from the shelves it is stacked upon currently. No need to sit there and look cute – let’s stitch you together into something fantastic! Sloane Julia Hickey (my brand spankin’ new niece) is going to be a sure fire inspiration for me. She was born on the 3rd after much waiting – such is the way with birth and new life. 
We hosted a baby shower for her sweet Mama back in November and had the guests bring fabric scraps. My plan was to stitch together something fantastic that day but after eating, chatting and gift opening the day got away from us. So there sits that tower of fabric, un-ironed. I will start scrapping it together this week. I will post photos of my progress. And the real inspiration for this post today was a new discovery. Selvedge Studios, my favorite local fabric store has a blog and as I was poking around on it this morning I saw a new blog on their blogroll that I hadn’t seen before and the creations were so beautiful I wanted to share. You Go Girl! I don’t personally know this crafting genius, I’m assuming she’s a Missoulian, but the few photos I viewed were so inspiring to me. This image/post in particular I fell in love with. I’m so inspired to stitch that fabric together on my craft counter, that I might just stay up late tonight fulfilling a desire. PS someone walked in at 26 minutes after the hour. 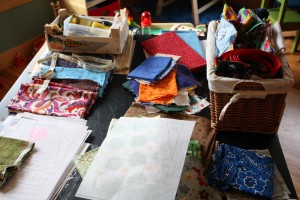
This mess… 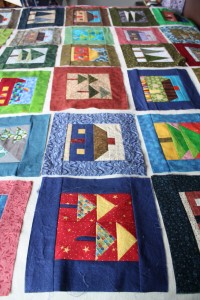
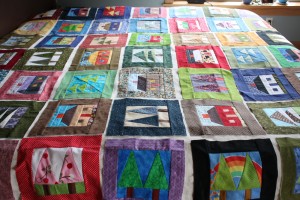 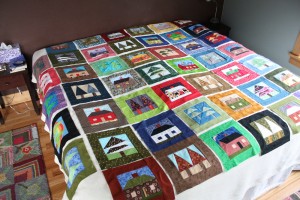
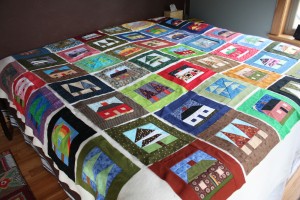 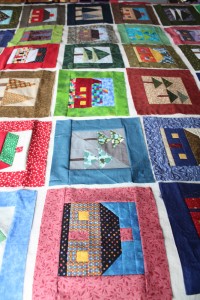
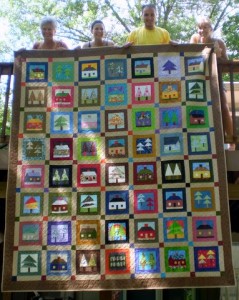
made this beautiful heirloom, that I’m oh so envious of. Happy Crafting! Happy Quilting! 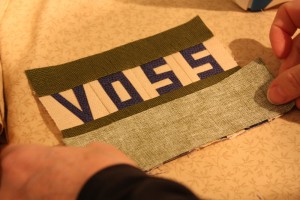
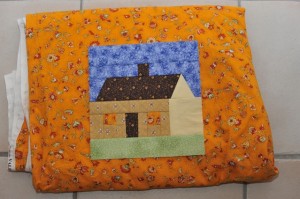
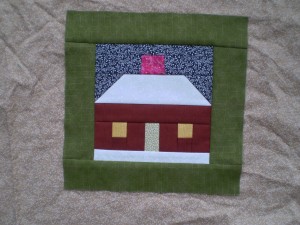
This was the beginnings of the VOSS 2010 square that our Mom added. She’s quite the crafty genius. I wanted one more chance to show off some of the squares my family made. Enjoy – oh and in case I didn’t mention – and you didn’t notice – the theme was cabins and trees. 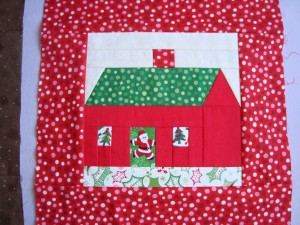 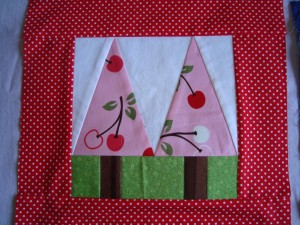
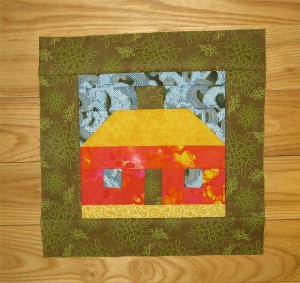 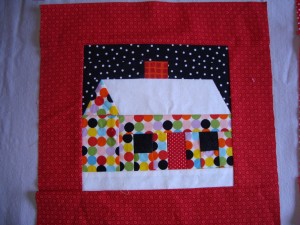
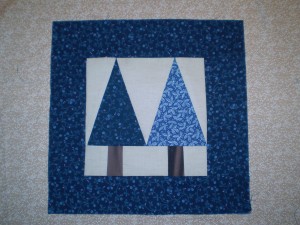 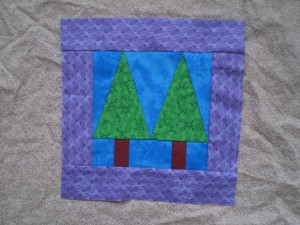
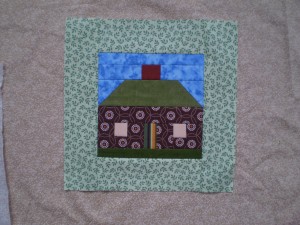 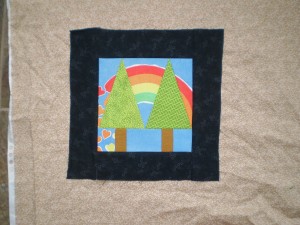
These last two are pretty special. The windows on the cabin are made from the wedding dress that Jan wore when she and my Dad got married. And the rainbow behind the green trees is from our childhood curtains and pillowcases. The quilt is next to come. Happy Crafting! 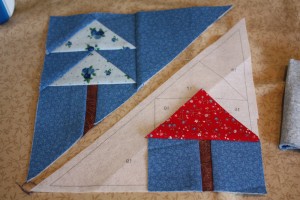 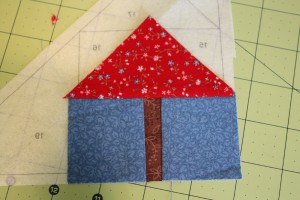
I didn’t get to go into a ton of detail on paper piecing in my last post, but the main reason I wanted to post another entry on this same subject is so I could show off my pieces. I’m pretty proud of the way they turned out, and honestly the process isn’t all that difficult. If you can stitch a straight light, you’re more than capable. I jumped the gun…I guess you also must possess the ability to count, but not past 20, for any of the pieces I’ve created. 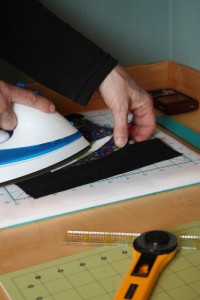 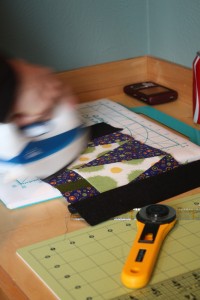
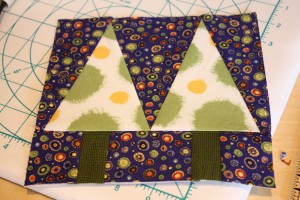
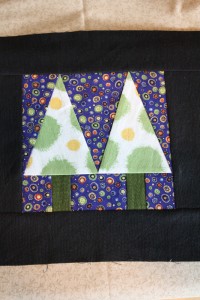
As hard as it might be, the best part about this is you can use your scraps. It seems like when I get into quilting mode though I have the sudden urge to go to Selvedge and get some new fabric. Seriously try and use your scraps! 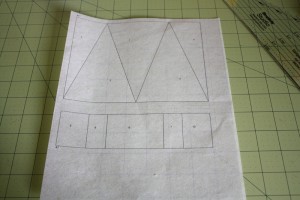
This is what you get when you print your pattern. You can run this paper right through your printer, in fact you can use regular weight paper for this project. 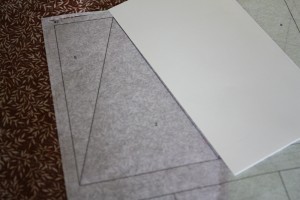 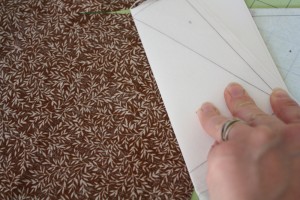
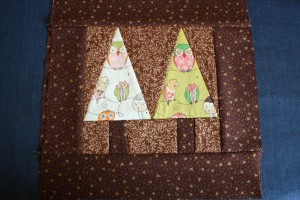
I found an awesome tutorial here. I’m sure tutorials can be found all over the internet, but this one is simple and easy to follow. 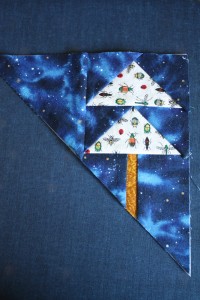 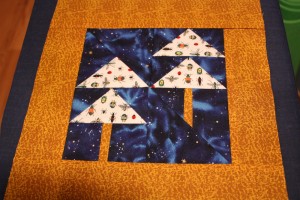
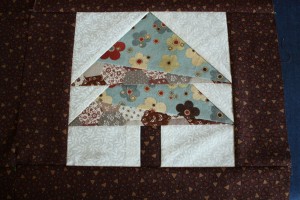
The color combinations were left wide open for us. Without limitations, I was able to use some scraps from projects that have nostalgia. 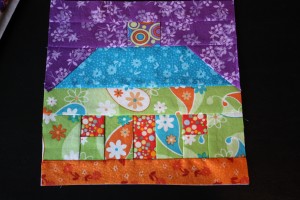
And I was able to make some squares that probably won’t even make the cut. I think this one actually did make the cut but it will be under a pillow near the top. Give me some slack it was one of my first ones. Turns out you have to be somewhat careful with fabric choices. I’ll reveal the quilt soon! 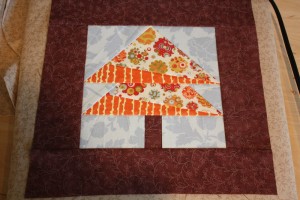
This is a post I’ve been waiting to do for months. I’m breaking my pattern a bit of featuring a crafty friend, but I figured since this project was a great big collaboration it was a safe thing to do. Well, and this is my craft blog after all, so I guess I can do whatever I please. I asked myself whether or not this a lazy way to quilt? Some of the squares that I made took me an hour though so I decided it wasn’t cheating. I also asked a very skilled quilter at the Western Montana Fair this summer what she thought and she said that Paper Piecing was one of the most difficult quilting techniques. I don’t really buy that response, but it made me feel pretty good about the time I’d put into each piece. If you’re looking for some patterns here is a great source. As I mentioned before this collaboration was pretty amazing thanks to my awesomely crafty family, and they deserve credit for the crafty side of me. I thought for this first post I would do a step-by-step of how to paper piece these squares, and then I would follow up in another post, with photos of everyone’s squares and the completed quilt. I wasn’t present for the gifting of the quilt, so I don’t have many photos, and I haven’t seen the finished product in person yet, but the photos looks great and I’m envious, I wish this was my wedding present. So here we go with the paper piecing… 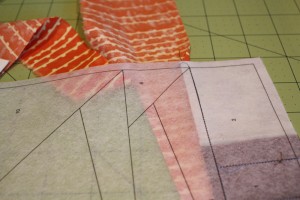
Step One is choosing your fabric. After a little bit of practice it is easier to choose based on the square you are working with. The patterns are always numbered so it is important to follow the numbers. I’ve also turned my whole pattern over before and then it is all backwards, it doesn’t matter so much with a tree, but it can mess up a more complicated pattern. So, start at the very beginning, a very good place to start, number 1 and 2 can be stitched together right off the bat. You stitch right on the lines and then of course when you flip your pattern over they will be 1/4″ off from where you think they would be. The important info is to stitch right on the lines and make sure you have enough fabric to cover the entire space you are working with. I’ve cut myself short way too many times, then you’ve got seam ripping ahead of you. 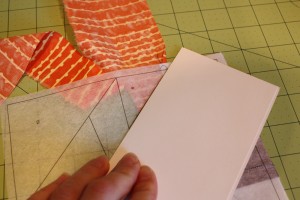
After I stitched those first two sections I took a card and put the card right on the line between number 2 & 3. I fold the pattern over the card to make a very straight line and then I can trim my excess fabric off. I leave myself a 1/4″ allowance when trimming. You need some room to stitch your future portion to your completed portion. 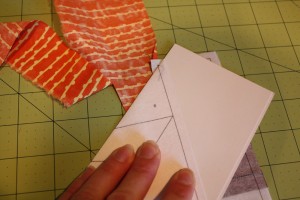
Once you fold the pattern over top of the card you can lay down your quilt & sew ruler, making sure to leave yourself that 1/4″. 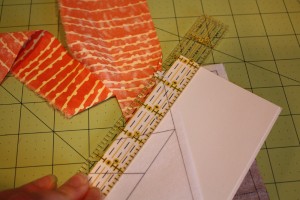
Here is that allowance you want to be sure you have. 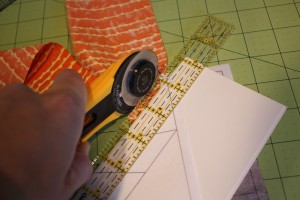
I would definitely recommend trimming with one of these rotary cutters, in fact I think you need it for paper piece quilting projects. Trim and try to save that excess fabric. That excess fabric is the beautiful thing about paper piecing, you are supposed to just use scraps for these projects. 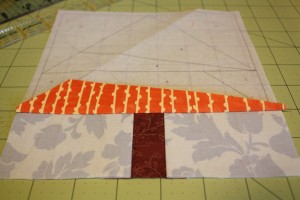
After trimming if you take a moment to look at your progress, it is instantly gratifying. Keep on truckin’. 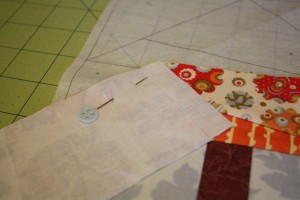
When stitching, especially diagonally, I think pinning is key. So, don’t be afraid to use your pins and just keep following the numbers. It is actually really simple when you try it. This is the most perfect way to make your quilting easy and a great way to start quilting. I’ve been wanting to quilt forever, and this was just the nudge I needed. Just wait until you see the final product. Happy Crafting! 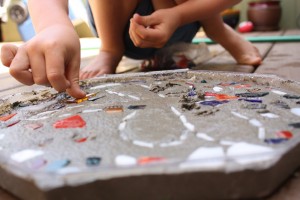
We made some sweet garden stepping stones a couple of months ago. It was a Mama-assist project for sure, but the kids loved it. We actually got a kit – mostly so we would have the molds to use for more stepping stones in our gardening future. It would be a simple project to do without the kit however. In fact my father-in-law told me he used the bottom of a five gallon bucket as a mold when he made stepping stones for his garden. I dabbled in stained glass for several years, so I have all kinds of broken glass pieces and this is the perfect way to use them up. Simon and Gus embraced the project and wanted to dive in full boar and mix the concrete themselves (since that was the first step of the process) but that part of the process should be performed by the adult supervisor. Inhaling concrete powder is super dangerous. I let them do some mixing after I had pretty much wet the powder down completely. The concrete should be the consistency of brownie batter, so a bit lumpy, not too runny. 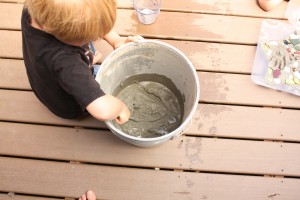 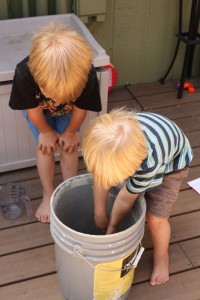
After we did our mixing we set the molds out on the deck to fill them. I just used a paint stir stick to stir the concrete and used it to scoop the lumpy goo into the mold as well. 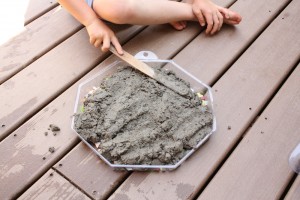 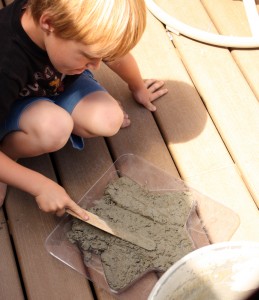
The next step is to smooth the concrete out in the mold to make your stepping stone as flat as possible. We decided to see what would happen if we put glass on the bottom of the mold before we poured the concrete in as well and it ended up looking pretty neat so if you plan to do that you should put the glass pieces in before pouring your concrete in – obviously. 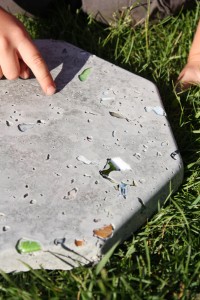
This is what the glass filled bottom looked like when it was all said and done. 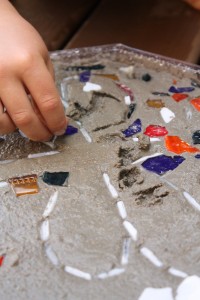  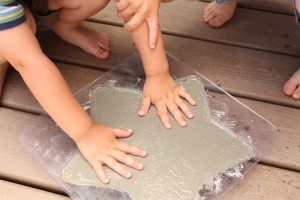
Next step is to place your glass pieces, marbles, rocks, broken plates, or whatever you might have laying around that you think might pretty up your stepping stones. We attempted some hand prints, which can be a little bit messy. We lubed Gussy’s hands up with a bunch of Vaseline so we could rinse the concrete off more easily. You have to make fairly deep impressions with your hands for them to actually show up when your stepping stone is dry. 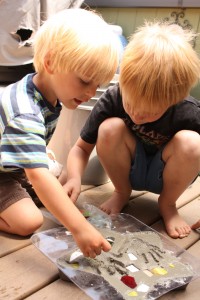 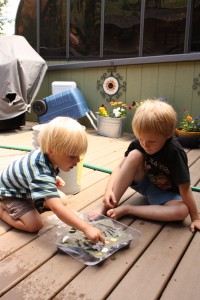 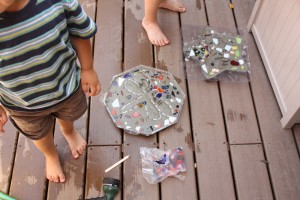
We also put a dragonfly cut out on top of Simon’s stone and pieced glass around it so there would be a dragonfly shape in the stone. You could cut a piece of paper into any shape your heart desires and just lay it on top of the concrete and surround it with glass. It ended up looking pretty cute. 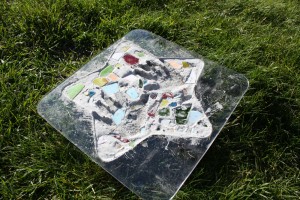 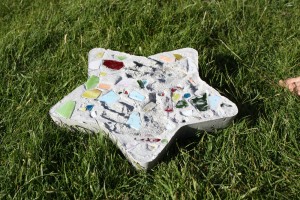
24 hours later…we had these… 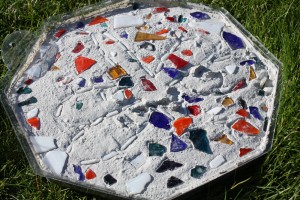 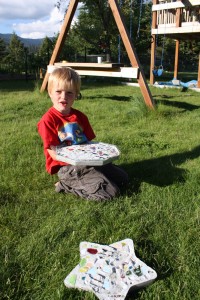
Happy Crafting! 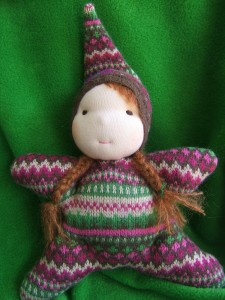
I’d decided a while back that I’d try and feature a friend, in between each of my personal posts because I have such incredibly inspirational crafty friends. I don’t know if I’ve stuck to my promise, but here is another dear dear crafty companion of mine. Anna Rummel is a Mama of four and the creator/owner of Starlight Arts (here she is on Facebook). 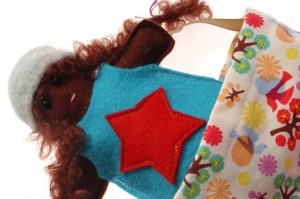
My relationship with Anna began back when I opened up my little toy store. She came in to see me, very pregnant, with a basket full of delicious toys that she’d crafted. Little did I/we know then that 5 years later, she would be crafting toys for my store (that are favorites in our local community) – her toys have even been featured in Mothering Magazine’s Annual Toy Review for the past couple of years in a row! 
Playsilks are at the top of the list, and she dyes them herself. They are definitely favorites around my house! They are one of the best creative toys around, children will imagine themselves into fairies, pirates, mamas, aliens, superheros, the list goes on and on and on, and all they need is a 3’x3′ colorful piece of silk. 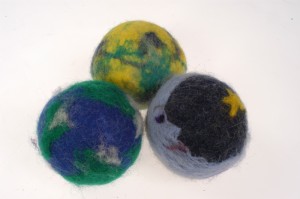 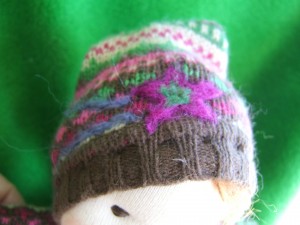
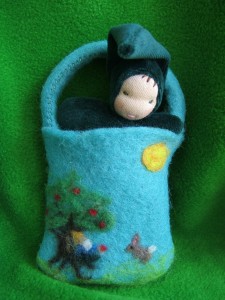
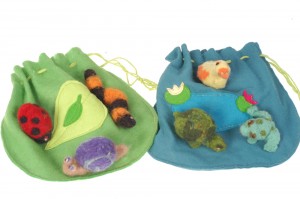
She felts – using felting needles she can create just about anything – which blows my mind! She makes balls made from raw wool look like the earth, moon, sun, clouds, stars, etc. She felts detail onto some of her dolls. She actually felts animals – chicks, sheep, gnomes, bunnies, caterpillars, snails, just to name a few. 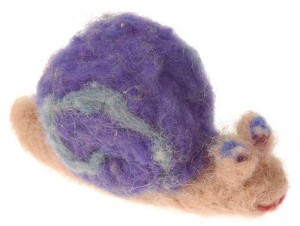 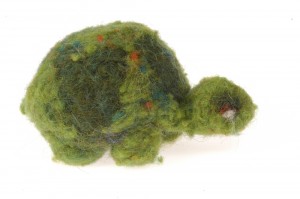
Um, amazing right? I wish I could show photos of all of them – this would be one long post though! Some of her toys can be found in her Etsy shop but there is generally a much larger selection at WST. She makes crowns, wands, an array of toys that you can feel good about sharing with kids in your life. They definitely encourage imagination. I’ll just end with a few more photos – the toys speak for themselves. I am happy I have found such a dear friend and her craft fills such a niche in our community, in my store and in my life with my own babies. We love Starlight Arts! 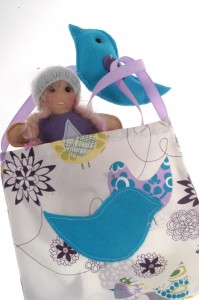 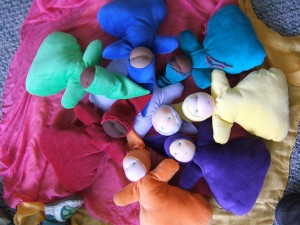 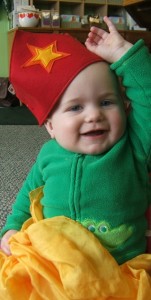
| |


