Pysanky Eggs
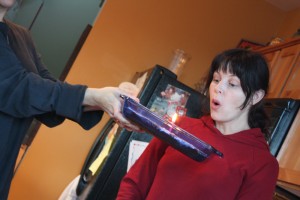
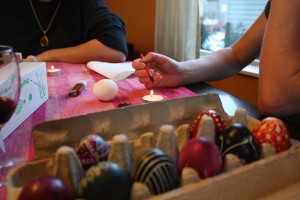
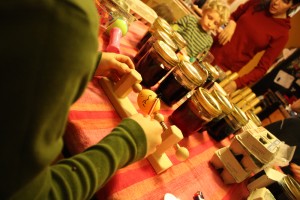
The Ukranian Easter Egg was our craft of choice one recent evening, just prepping for spring/Easter. The ladies + kiddos got together and egged it up. The reoccurring dilemma seemed to be that candles would be blown out during a good old fashioned nose chuckle. Lemme tell ya these ladies are hilarious and chuckle worthy.
The master of the pysanka (amongst us) is Erin (Willa’s Mom) and we were at her house using all of her precious supplies and dyes. If you think this is something that looks awfully fun to you, you can pick some dyes up at Joseph’s Coat in Missoula (if you live where I live). I’m sure the bigger craft stores like Michael’s would also have the tools and supplies you’d need to get started.
[phpzon asin=”B00424O1VY” country=”US” trackingid=”mamalovescrafting-20″ templatename=”asin”]
So what do you need to make your eggs?
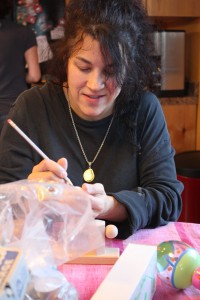
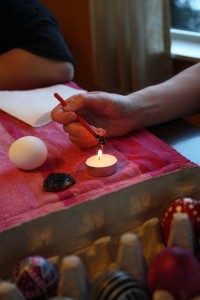
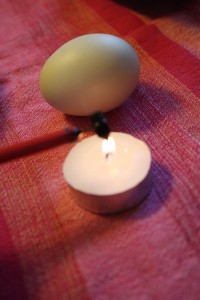
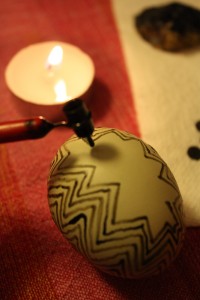
You need a steady hand, time and some tools. You need some beeswax (we had both black and natural colored wax) the black wax is much easier to see on your egg. The technique is commonly referred to as batik. You actually write on the egg with your metal wax dispensing pen known as a kistka. I just happened to look at this page and found there are electric kistkas. I think the most relaxing part about this whole process is holding that tool over a flame to melt the beeswax. I like this instructional video if you want to see the entire process in action.
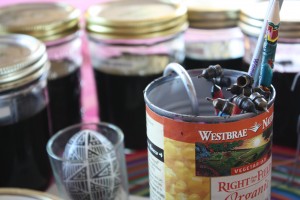
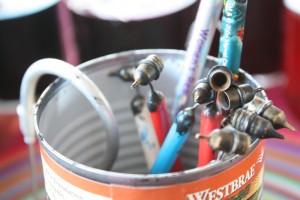
You can see the little cups on the kistkas that you fill with a bit of beeswax and then to the left in this tin can you’ll notice the yolk extractor (egg blower). We used raw eggs so we could save them forever. You don’t want to use hard-boiled eggs it isn’t a good idea to consume an egg that you pysanky.
[phpzon asin=”B0014DKEJE” country=”US” trackingid=”mamalovescrafting-20″ templatename=”asin”]
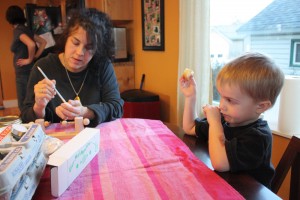
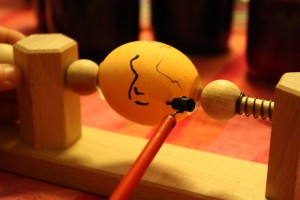
When applying your first round of wax decor remember that will be egg-colored. While the wax is still on your egg you dip the egg in dye. Of course if you prefer to have a color under that wax you should first color your egg, and then apply wax. This is Simon’s egg – he decided on some color before applying wax.
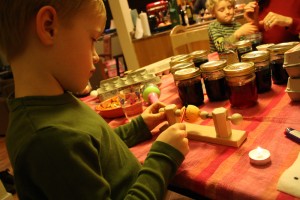
Simon had a fancy lathe to keep his egg steady for him.
[phpzon asin=”B000GQQ2XM” country=”US” trackingid=”mamalovescrafting-20″ templatename=”asin”]
Erin had so many dyes to choose from, and the colors – so bold and brilliant. A bonus is you don’t have to leave your egg in the dye for an eternity – again don’t eat your eggs post-dye.
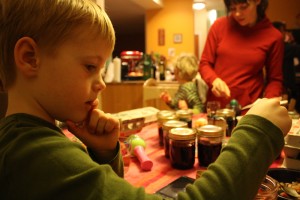
My little artist. We just needed more time, it was nearing bed time, on a school night, so this activity was to be continued…
The final step is melting the wax from your egg. This is tricky as you don’t want a giant burn mark across your masterpiece. It is another slow and patient process that needs a lot of love. You slowly melt the wax from your eggs and wipe it gently with a paper towel. Remember patience patience. Simon wasn’t chock full of it this evening after playing with his buds…but he still loved his Pysanky Time!
Where it stands now – Simon’s egg is green with some orange underneath. We might just invest in some of our own pysanky tools. This could be a pretty – relaxing – tradition. Ahhh.
[phpzon asin=”B004KMVS3W” country=”US” trackingid=”mamalovescrafting-20″ templatename=”asin”]
[phpzon asin=”0960250204″ country=”US” trackingid=”mamalovescrafting-20″ templatename=”asin”]
[phpzon asin=”0880451602″ country=”US” trackingid=”mamalovescrafting-20″ templatename=”asin”]
Happy Spring!

